Hello! I’m Jakob Stewart, an AI researcher and digital artist.
In this tutorial, I’ll guide you through editing photos and creating digital cosplay with LoRAs from CivitAI.
Before we start, take a look at this tutorial to learn how to run Stable Diffusion online. And this one to learn how to install and run it locally.
Quick Links:
- Installation and Running Online
- Downloading LoRAs
- Step By Step Tutorial
Installation Tutorial + How To Run Online
Requirements:
- Python 3.10
- GPU: Recommended NVIDIA with at least 4GB VRAM. AMD GPUs are supported in beta.
- System Memory: Minimum 8GB RAM
- Disk Space: Ensure sufficient space for models and dependencies
Windows Direct Download Link:
➡️➡️ Click here to download ⬅️⬅️
-
After you download the file, please uncompress it and run “install.bat”.
-
The first time you launch the software, it will automatically download the necessary files.
Linux Installation:
➡️➡️ See here ⬅️⬅️
Note that if you see “MetadataIncompleteBuffer” or “PytorchStreamReader”, then your model files are corrupted. Please download the models again.
Running Online:
- All you need to do is access the provided Google Colab link:
➡️➡️ Click here ⬅️⬅️
Then click on the play icon.
-
Once you click the button, the tool will quickly set up and provide you with a public URL to access the Defooocus AI.
-
Access the provided link and you’re ready to go.
Downloading LoRAs From CivitAI
LoRAs are pre-trained models for specific styles and contexts that can be applied to generate images with those particular characteristics.
For example, LoRAs for painting styles like realism or anime, specific objects like cars, outfits, landscapes, characters, etc.
-
Go to CivitAI and look for a LoRA that you like, it must be compatible with the SDXL (Stable Diffusion XL) model.
-
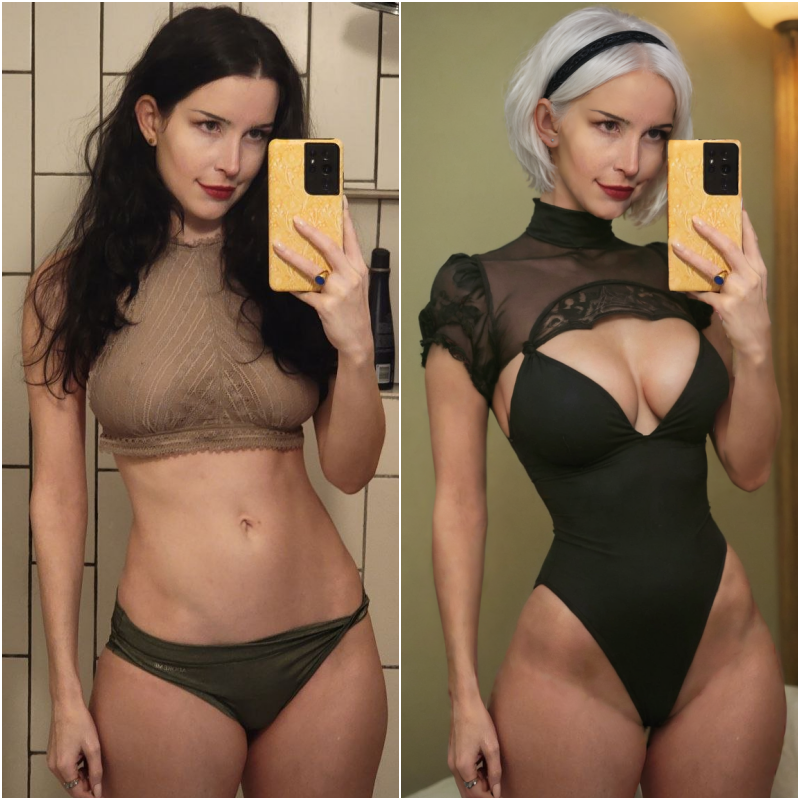
I chose this one: “yorha no.2 type b 尼尔机械纪元 2b小姐姐 for SDXL #type2B”.
Note that using Google Colab or running locally, you must put the LoRAs into the “/DeFooocus/models/loras” folder.
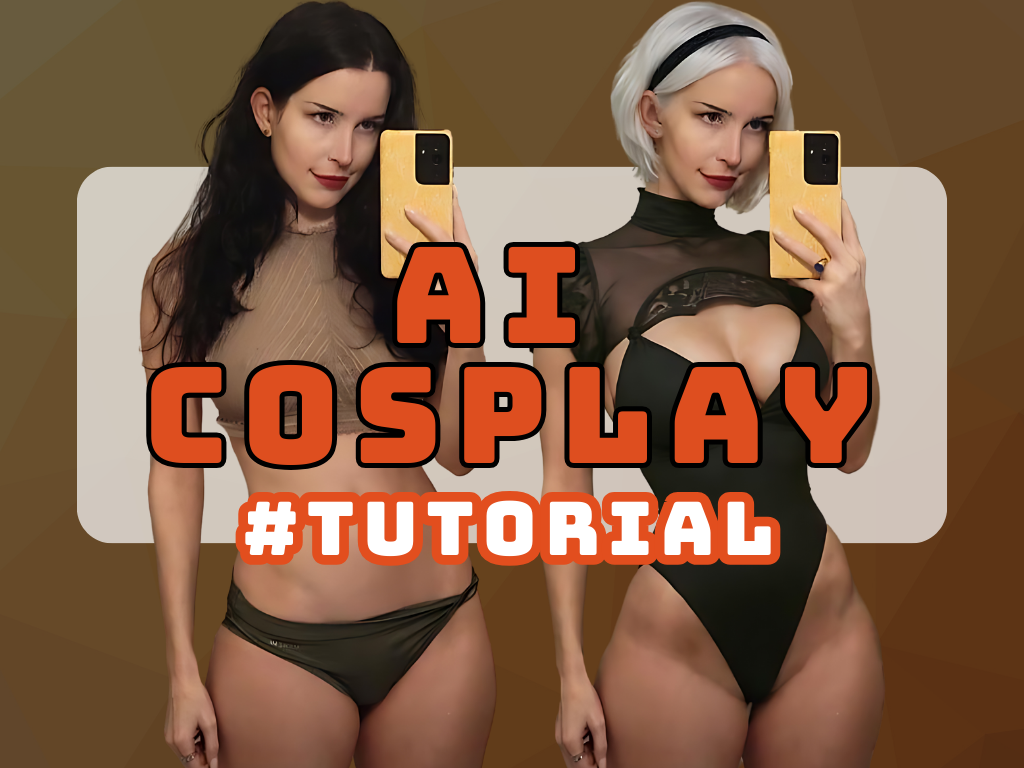
AI Influencer Cosplay - A Step By Step Tutorial (NSFW)
- With Defooocus open, let’s prepare the workspace.
Do the following in this order:
-
Check the “Input Image” and “Advanced” options.
-
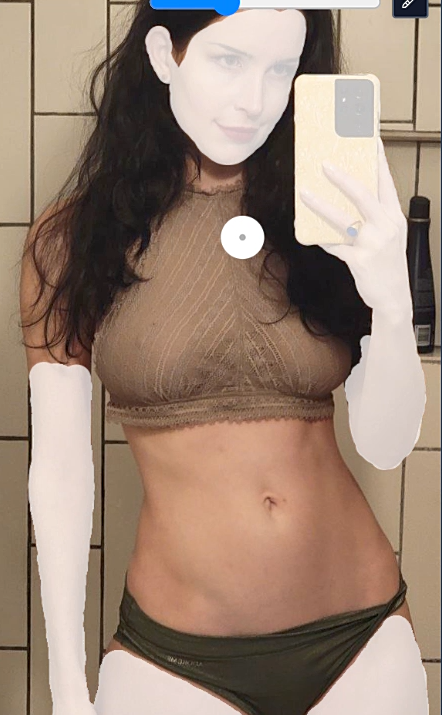
Click on the “Image Prompt” tab, and drag and drop the photo you want to edit.
-
Click “Advanced” below the loaded photo and select “Pyracanny”.
-
In the “Advanced” tab, enable the “Developer Debug Mode” option.
-
Switch to the “Control” tab and select “Mixing Image Prompt and Inpaint”.
-
Go to the “Inpaint” tab and select “Invert Mask”.
-
Switch to the “Inpaint or Outpaint” tab.
-
Drag and drop the photo.
-
Also, don’t forget to activate the desired LoRA in the “Models” tab: ⬇️
You must use the LoRA’s trigger words in the prompt to activate the style. ⬇️
Prompt: ⬇️
Inpainting:
-
Now we will mask only the areas that WILL NOT be modified.
-
After masking everything that will not be modified in the image, hit “Generate”.
See the process of masking and generating below: ⬇️
Following these steps correctly, your photos transform into creative cosplays.
For updates on AI tools or AI Influencers, you can subscribe for free here.
Reference images