Hey Guys!
This is an tutorial that I made past few months and I’m bringing it here and keep it updated.
It’s the second easiest way to start generating NSFW content with AI.
It’s a 3-step Tutorial for beginers to install and start using Stable Diffusion.
You can click here to scroll down to the 3-step tutorial.
But if you are a beginner, you may start by reading:
- What are Stable Diffusion and Fooocus?
- Advantages of Stable Diffusion
- Prerequisites for Using It (is your pc good enough?
- Quick Tips to start
- Additional Resources
What are Stable Diffusion and Fooocus?
Stable Diffusion is an image generator, like Midjourney/DALL-E.
Like these tools, Stable Diffusion lets you create images from nothing, just by writing what you want.

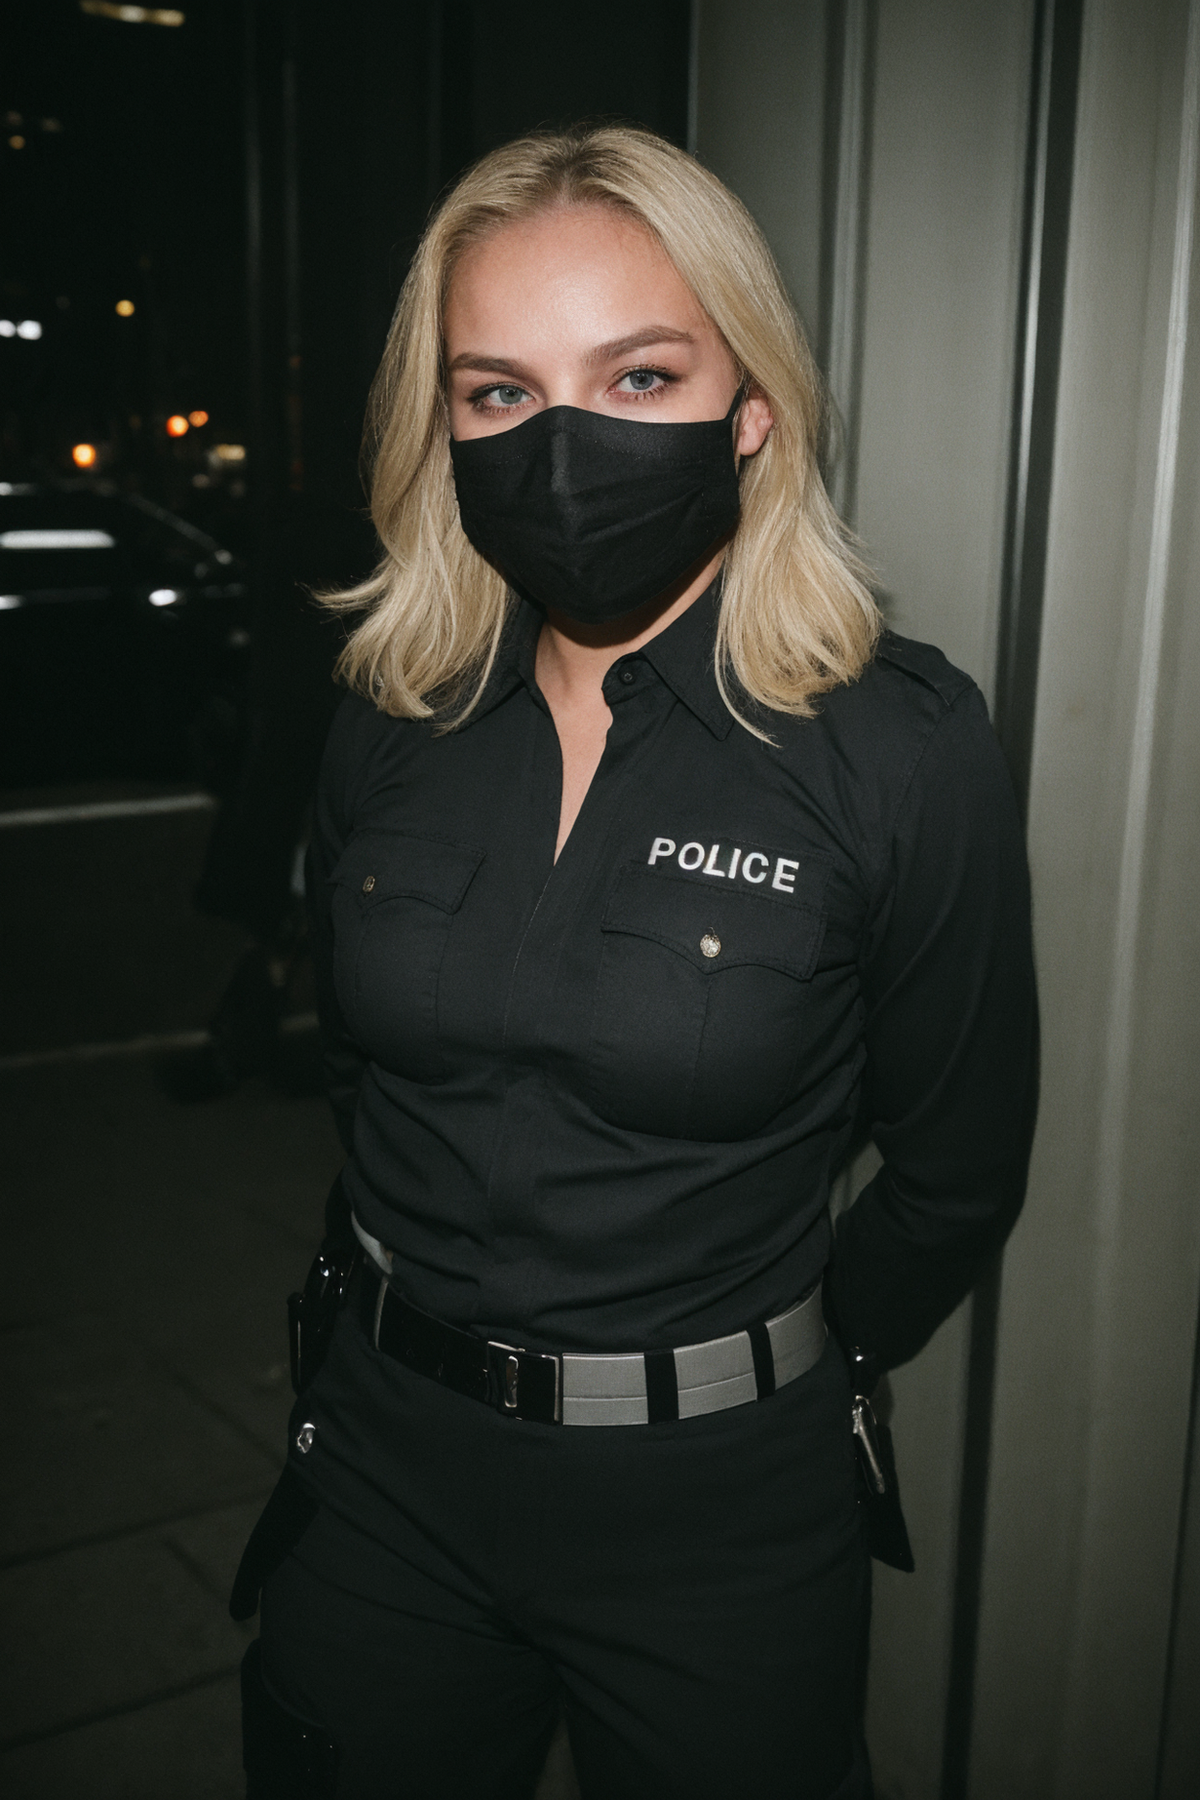

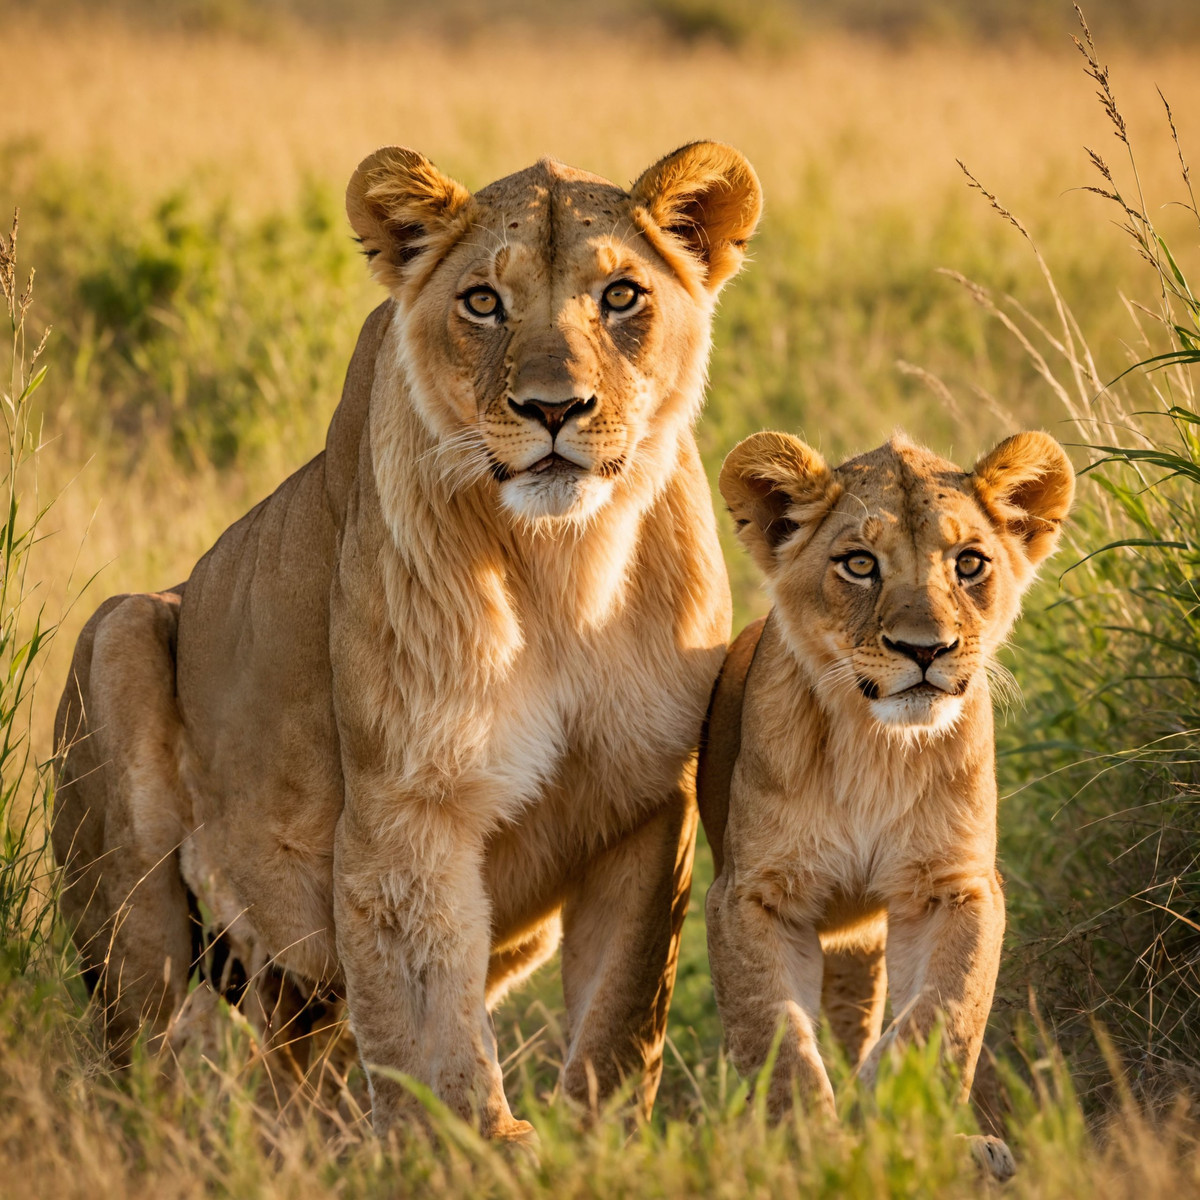
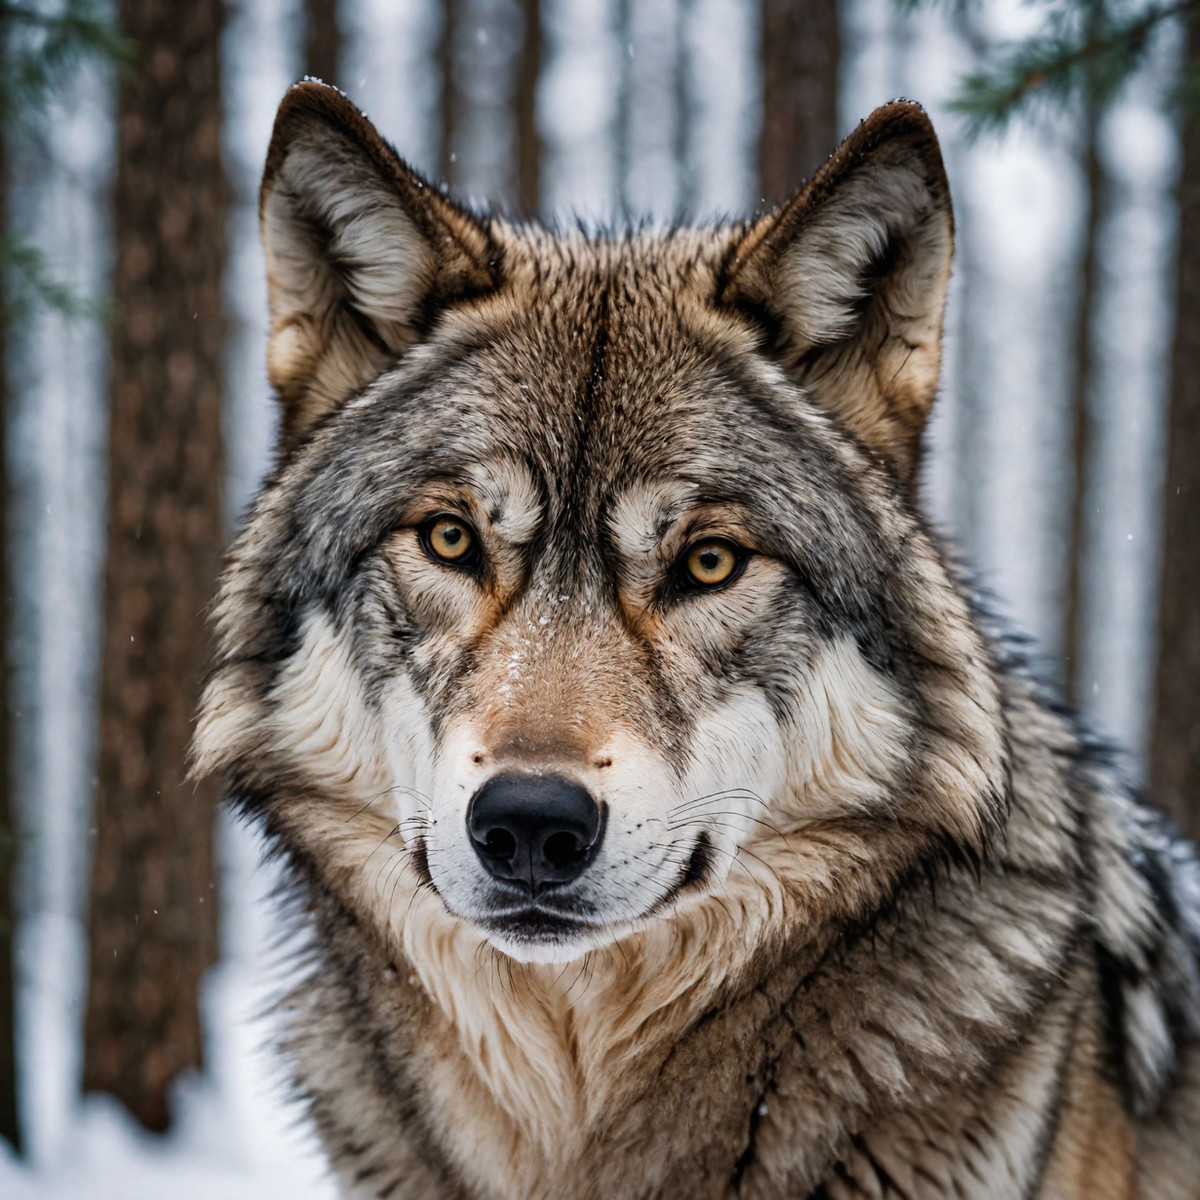
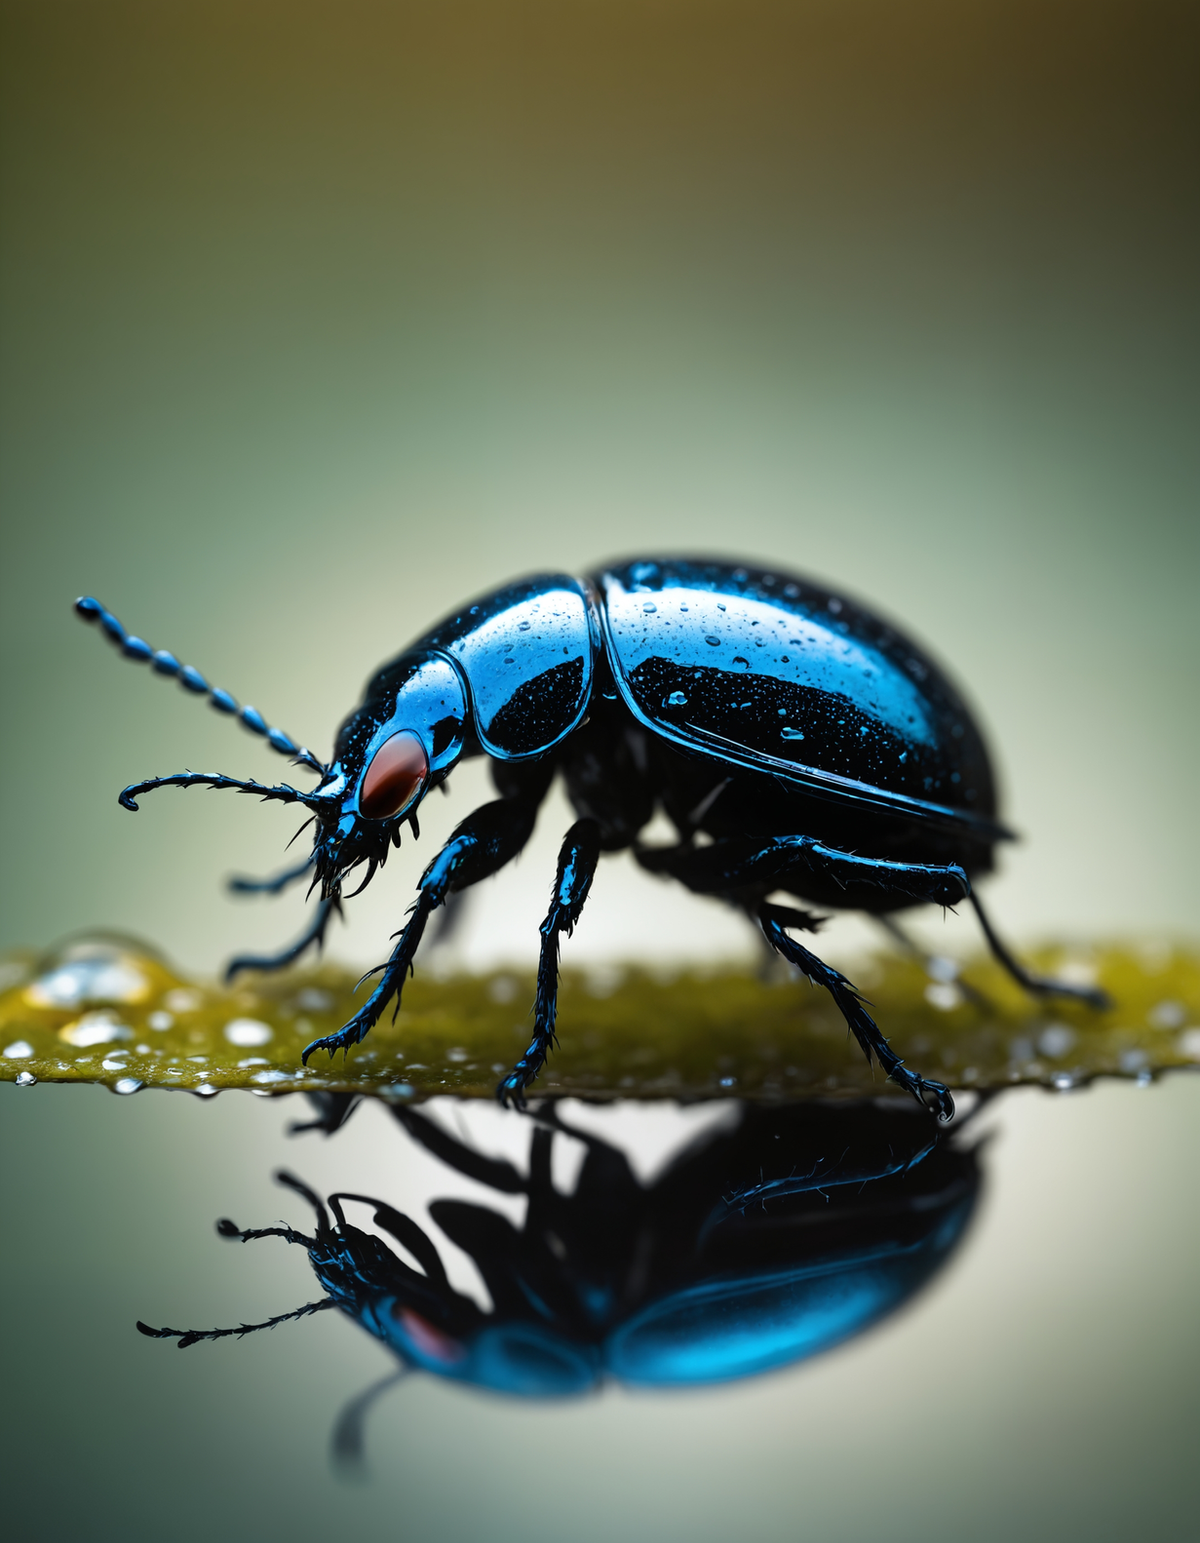

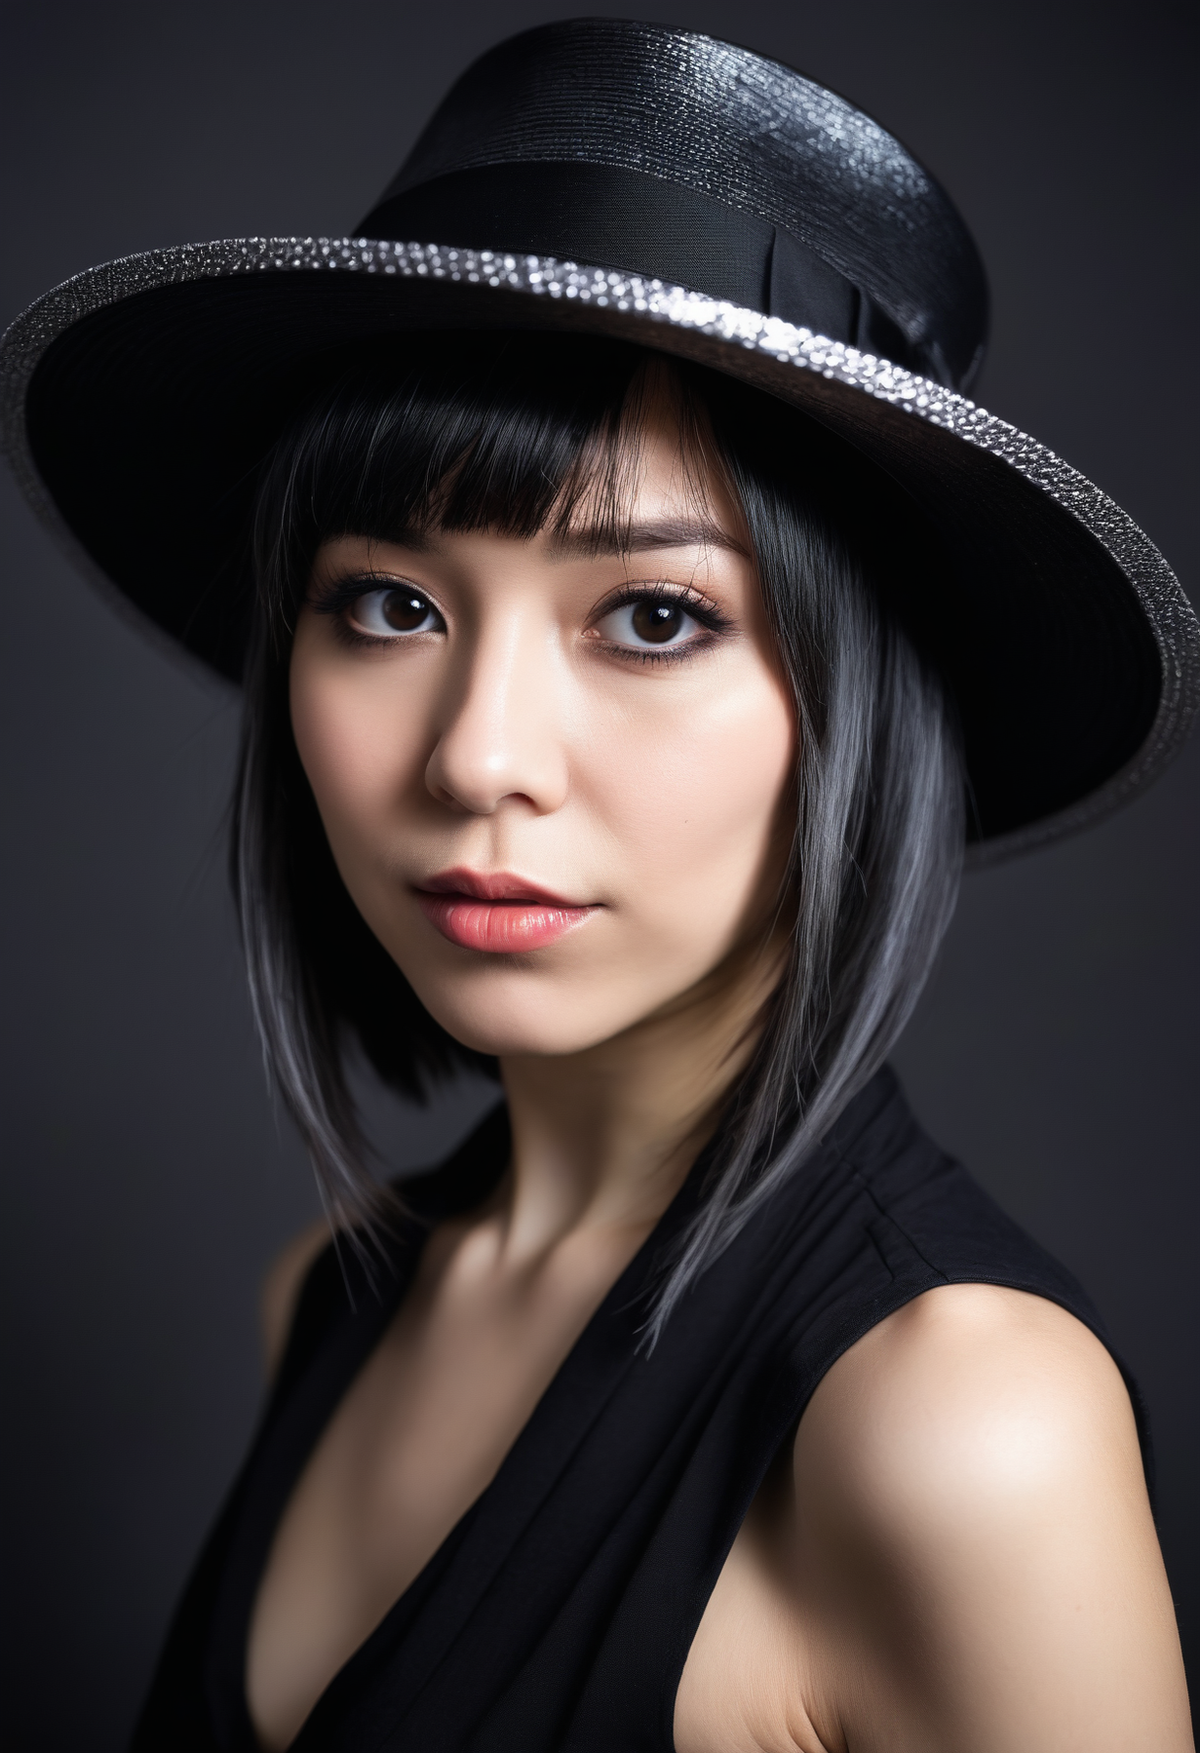
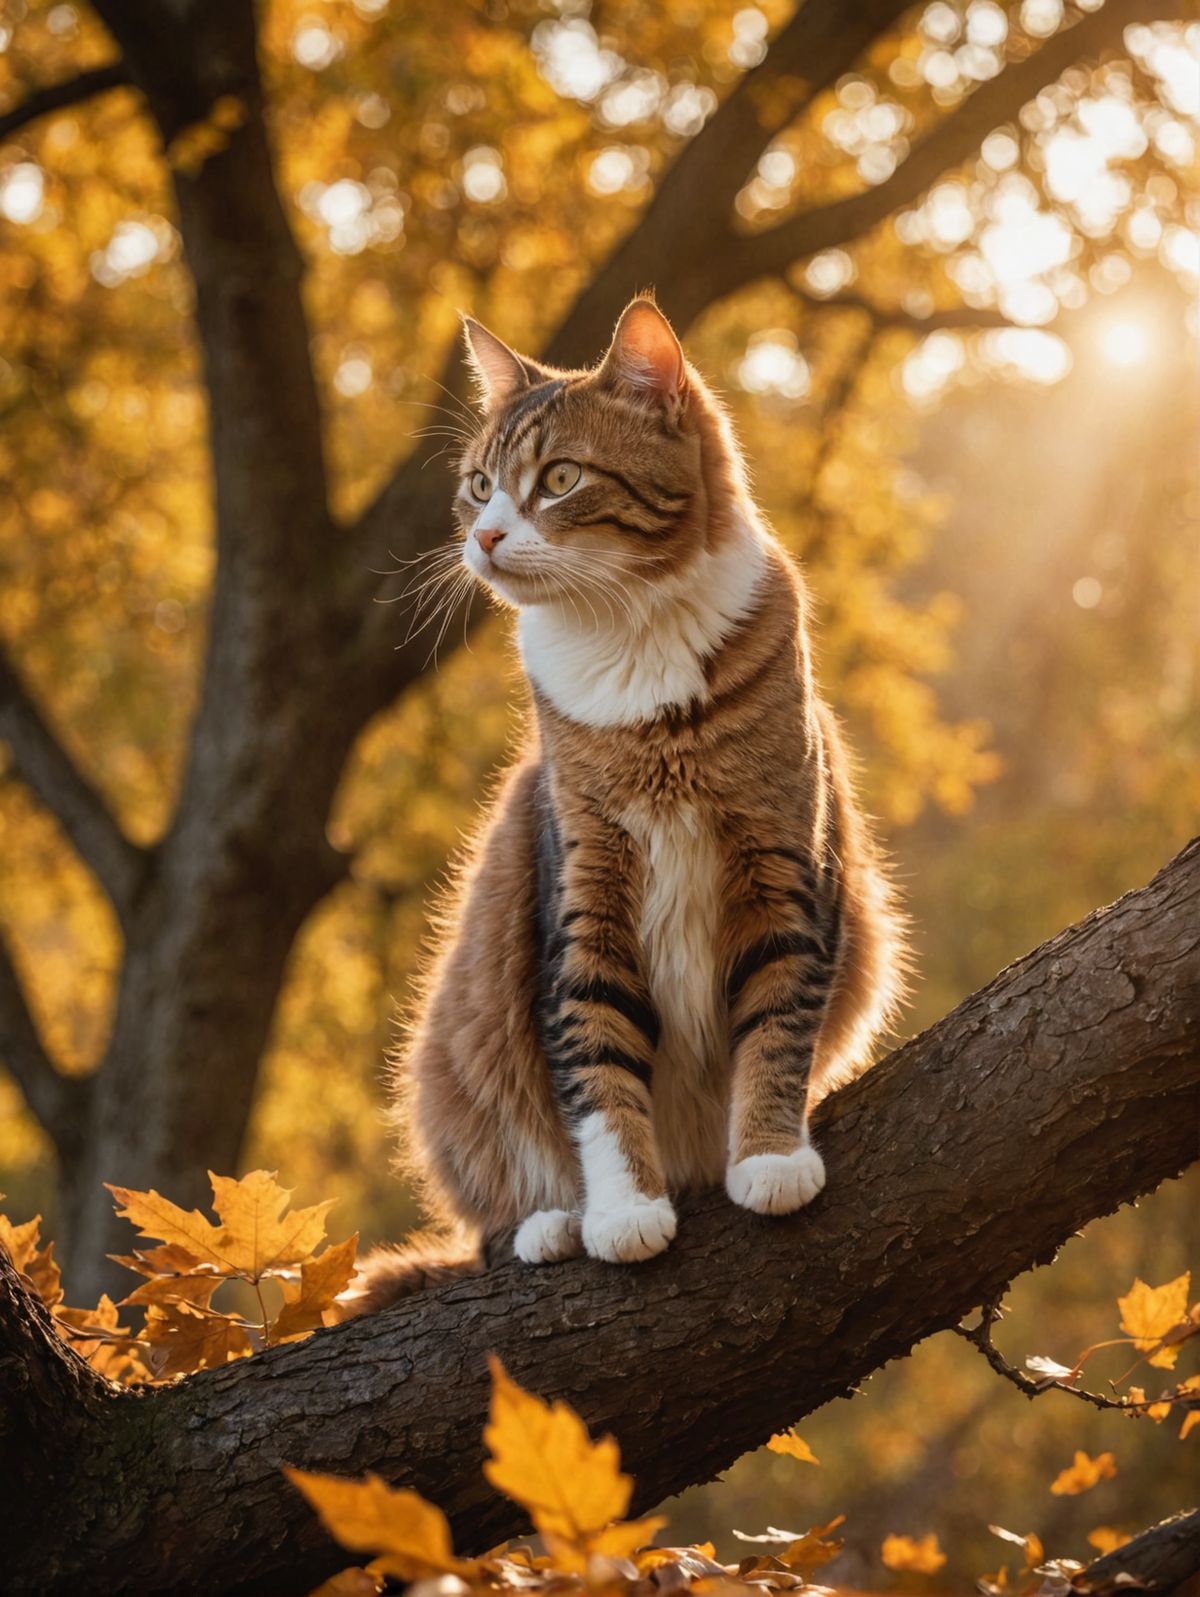
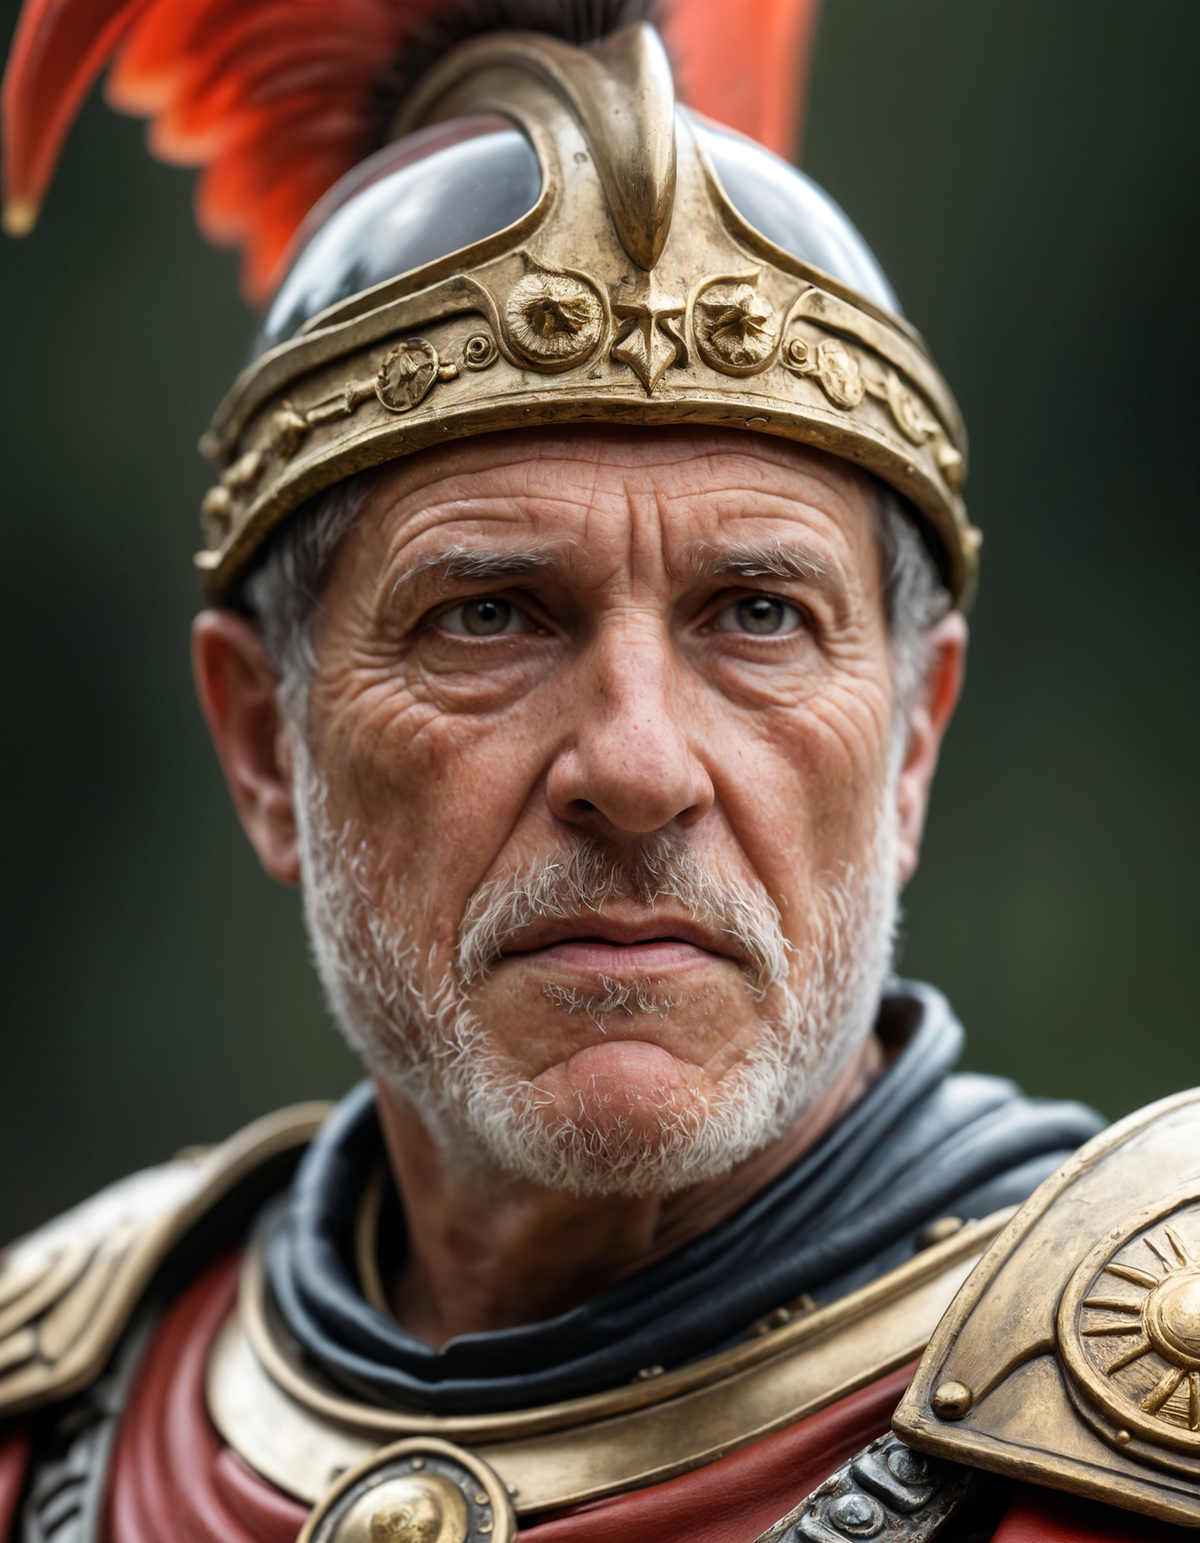
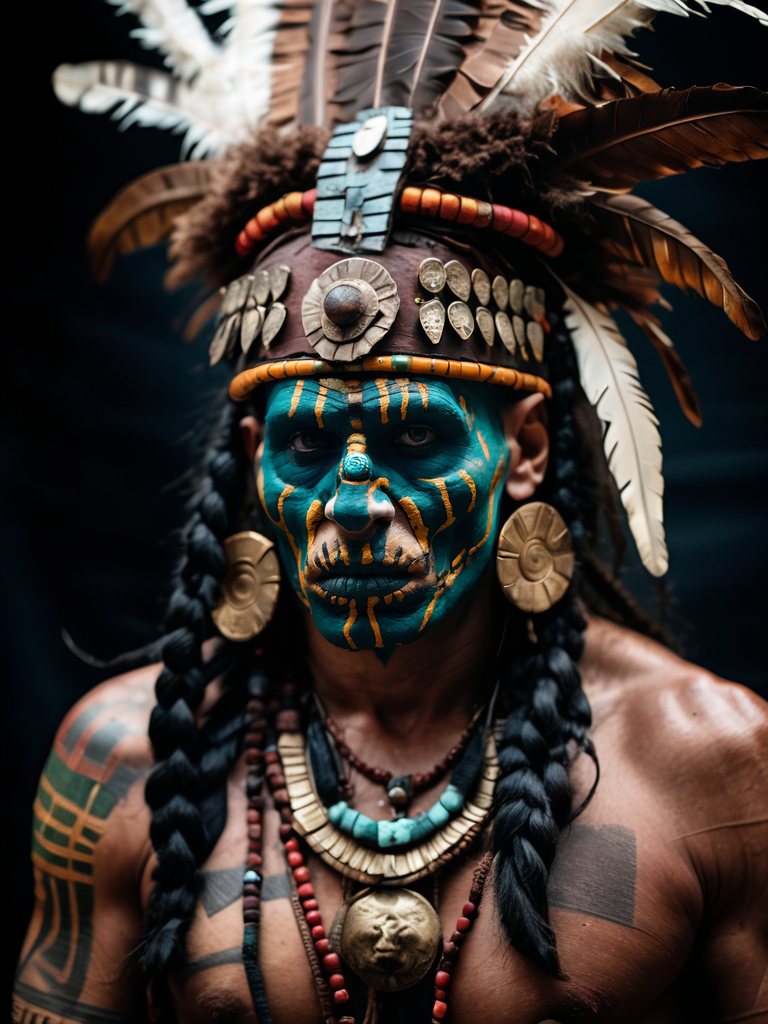

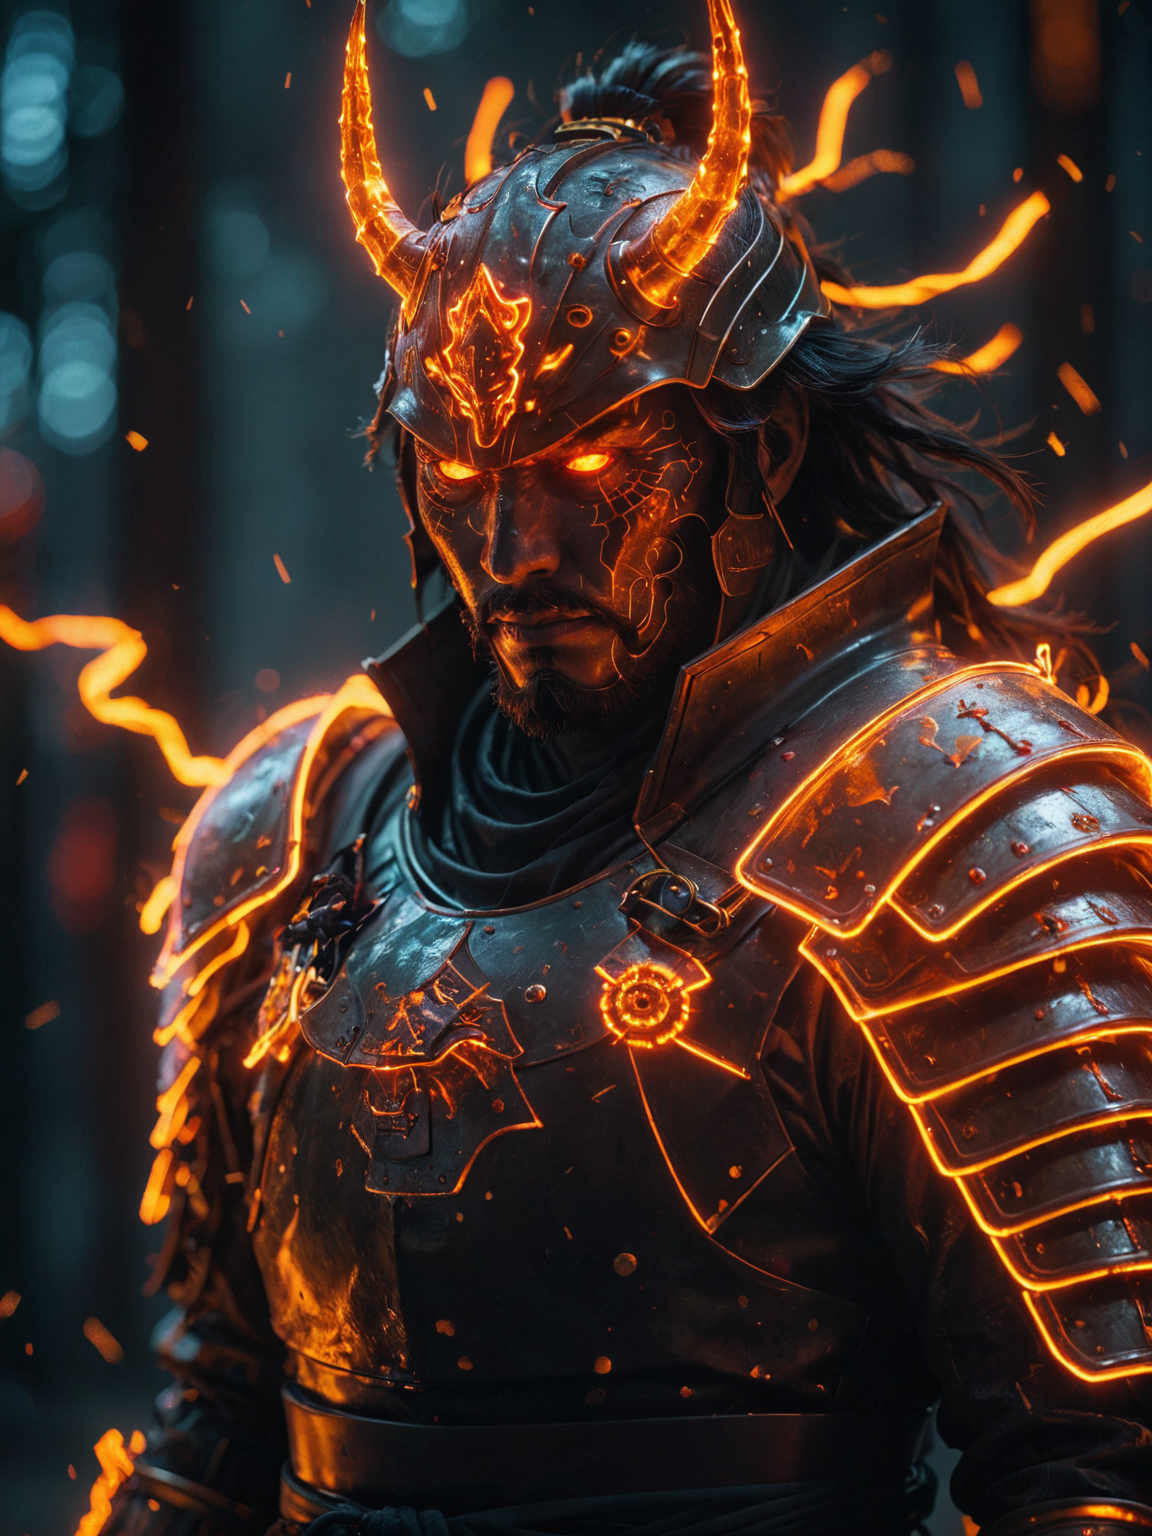



example of images generated with Stable diffusion
Unlike traditional image generators, Stable Diffusion offers a range of advanced features, allowing you to craft things that you can’t on others.
Ok, but what about this ‘Fooocus’?
Fooocus is one of several interfaces of Stable Diffusion.
In other words:
Fooocus is just one of the ‘screens’ you can use to work with Stable Diffusion.
Advantages of using Stable Diffusion and Fooocus
There are several advantages to using Stable Diffusion, primarily because it is open source (this means you can truly ‘own’ the program).
These are the main Advantages of Stable Diffusion over Midjourney/DALL-E:
-
Free: It’s free; you don’t pay a penny to use the tool.
-
Run Offline: You can run Stable Diffusion on your PC even without an internet connection.
-
No Dependence on a Company: You can keep using Stable Diffusion as long as you want, without relying on a company to keep it available online.
-
Flexibility and Customization: You have more flexibility and can even do complex tasks like training your own models.
-
NSFW Content: You can create NSFW content with Stable Diffusion (without filter!), something that isn’t possible with other tools like Midjourney or DALL-E.
Advantages of using Stable Diffusion through Fooocus
Fooocus is one of the easiest interfaces for beginners to start using Stable Diffusion.
If you still need something easier, especially for generating NSFW AI content, you can try these online tools that I have selected and tested.
Prerequisites for Using Stable Diffusion (Fooocus)
Ok, so before installing Stable Diffusion, two things you need to know:
-
You’ll need to have a powerfull PC to run Stable Diffusion Locally, or
-
Alternatively, Google Colab (a virtual machine) can be used if a powerful PC is not available. (I willl explain this in another post soon).
How Powerfull your pc must be to run Stable Diffusion?
To run Stable Diffusion (Fooocus), you’ll need at least one of these:
Nvidia GPUs:
- RTX 20XX: 4GB
- GTX 10XX: 8GB
AMD GPUs:
- 8GB
Apple Silicon (M1/M2):
- 8GB
3-Steps TUTORIAL: Downloading and Installing Stable Diffusion on Windows
Before starting, read the last topic to ensure you have a powerful PC to run Stable Diffusion.
If you don’t have a good PC, or don’t want installations, you can try these online tools or wait for my next post where I’ll explain how to use a virtual machine for free.
And let’s go!
Step 1) Download Fooocus
Download from the Official GitHub Page: Click here to download.

Once you have downloaded the file, proceed to Step 2.
Step 2) Unzipping and Running Fooocus
After downloading the file, unzip it and double-click “run.bat” to launch Fooocus.
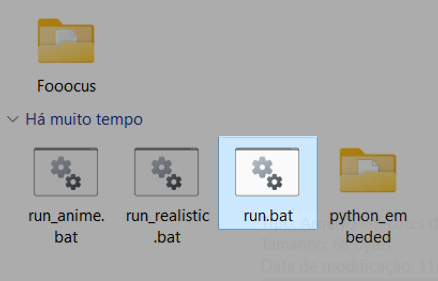
Now, just wait and proceed to Step 3.
Step 3) First Run and Image Generation
The first time you run Fooocus, it will automatically download additional files.
Just wait for the download to complete (it will take a few minutes).

When finished, a new browser tab will open automatically.

You are now ready to use Stable Diffusion in the friendliest interface!
Write what you want in the prompt field and click on Generate!
🧨 Here are some additional tips:
-
After installation, if you want to open it again, you just need to click the run.bat file.
-
You can create a shortcut to “run.bat” on your desktop or taskbar for quick access.
-
After the first time you run Fooocus, a config file will be generated at Fooocus\config.txt. This file can be edited to change the model path or default parameters.
-
For more techical information about the tool, please visit the Official GitHub: Fooocus
Bonus - Models And Loras For Stable Diffusion:

You can use “Pre-trained Models” (checkpoints) to do Different Artistic Styles and Concepts easily.
To use them, download the desired checkpoint or LoRA and add it to its folder at Fooocus/models/.
👉 Do the same if using Google Colab.
Here is a list of great realistic checkpoints from Civit AI:
There are also specific checkpoints and guidelines for adult content.
Bonus 2 - Avoid Computer Viruses:
When downloading a model, prefer the .safetensors extension over .ckpt files for safety and versatility with Stable Diffusion models.
Tools I use for this
If you don’t want to install Stable Diffusion locally and just want uncensored images in the browser:
Promptchan
Promptchan runs uncensored image generation straight from the browser. The free tier gives you daily credits, and the prompt box is simple if you have never written a Stable Diffusion prompt before.
NectarAI
NectarAI gives you the same kind of uncensored image generation and also lets you chat with the character you create. Useful if you want an image generator and an AI girlfriend in the same place.
Want to Know more?
For more information on Stable Diffusion and other AI Tools, subscribe for FREE .
I appreciate it.
Enjoy Your AI Art Journey!