Hello, I’m Jakob Stewart, a digital artist and AI enthusiast.
Today, I’m going to talk about Loras and checkpoints.
These tools can help you make better images with Stable Diffusion.
Click to go straight to the topic of this article:
- What are checkpoints
- How to download and use checkpoints****Changing the checkpoint
- What are Loras
- How to use Loras
What Are Checkpoints on Stable Diffusion?
Checkpoints are models that have already been trained to make images better.
You can use them with Stable Diffusion to get more detailed and specific results for the images you create.
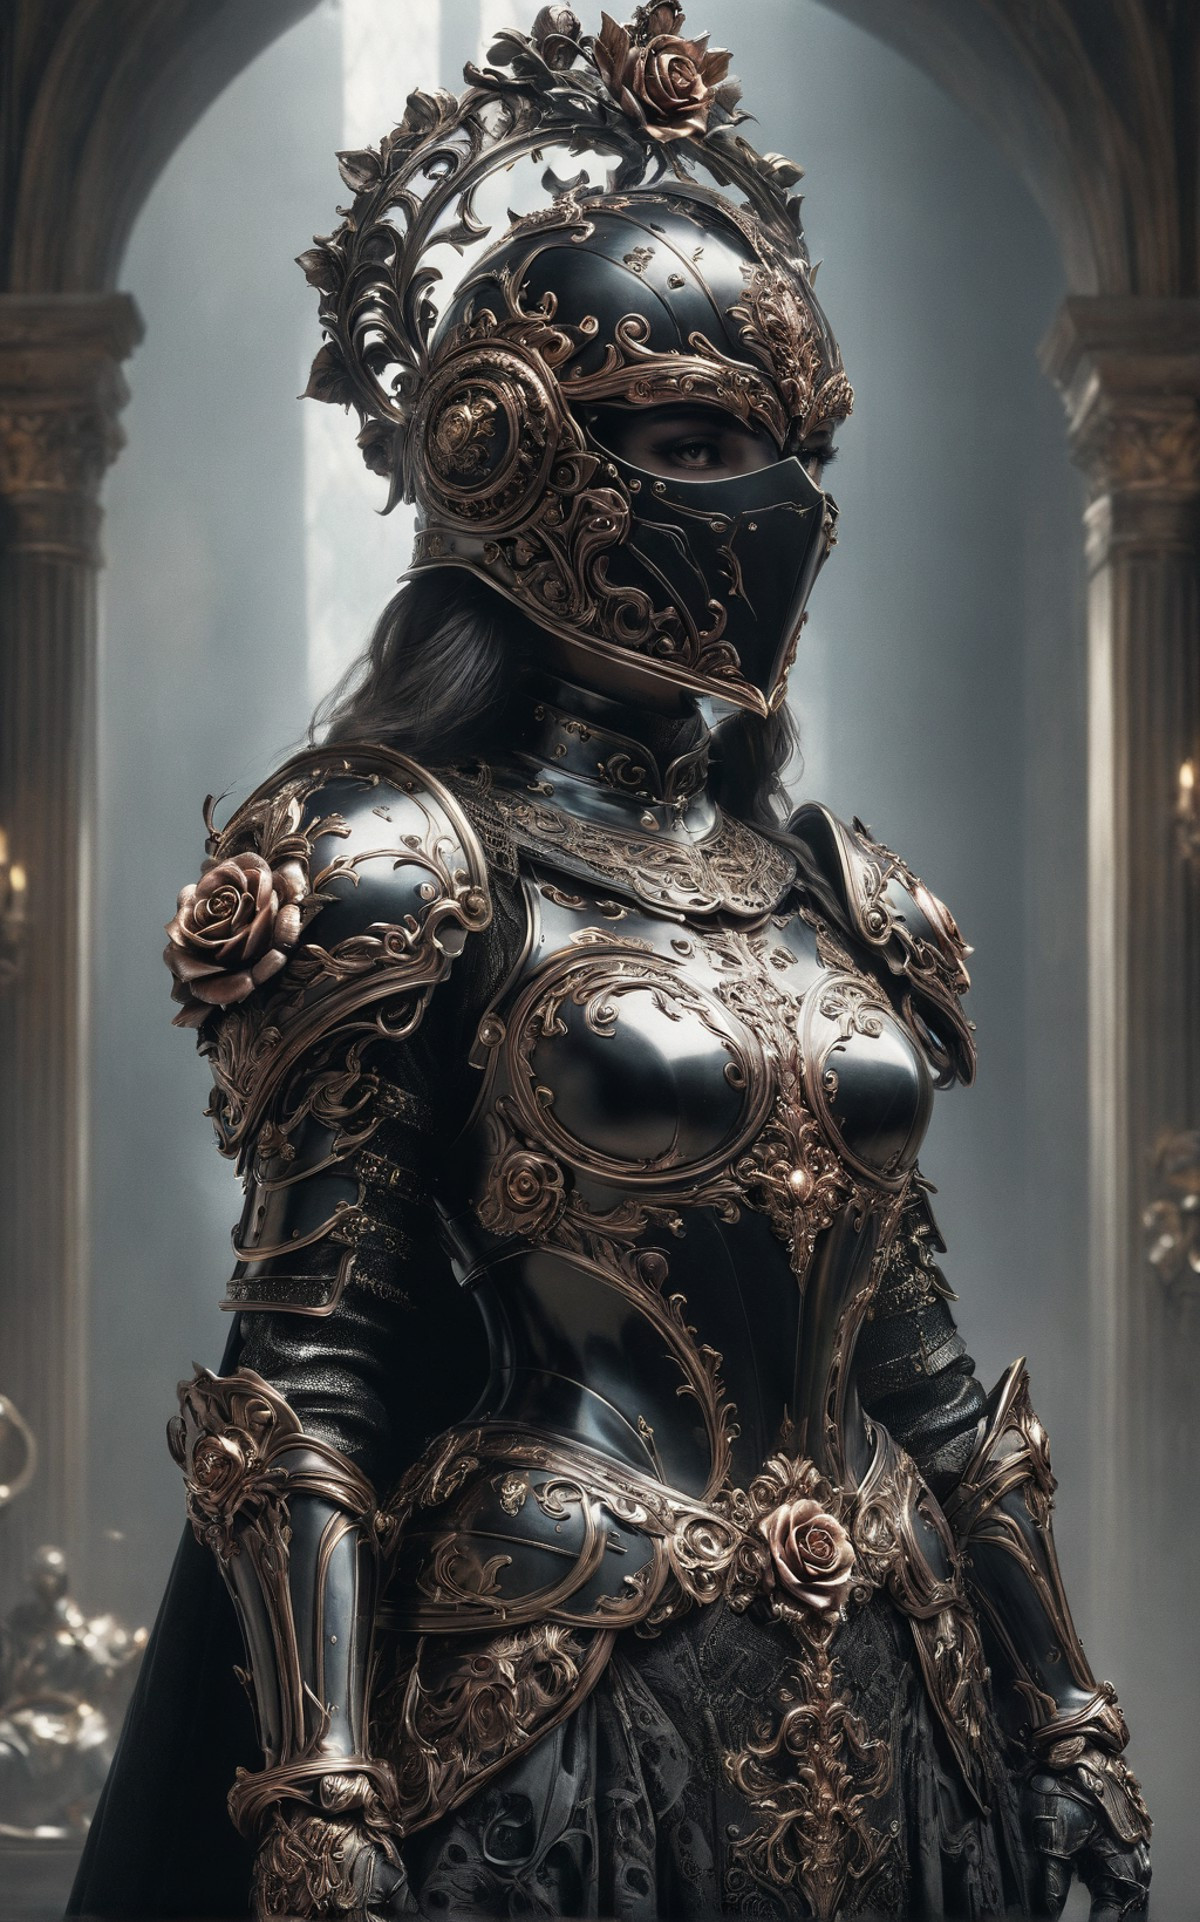
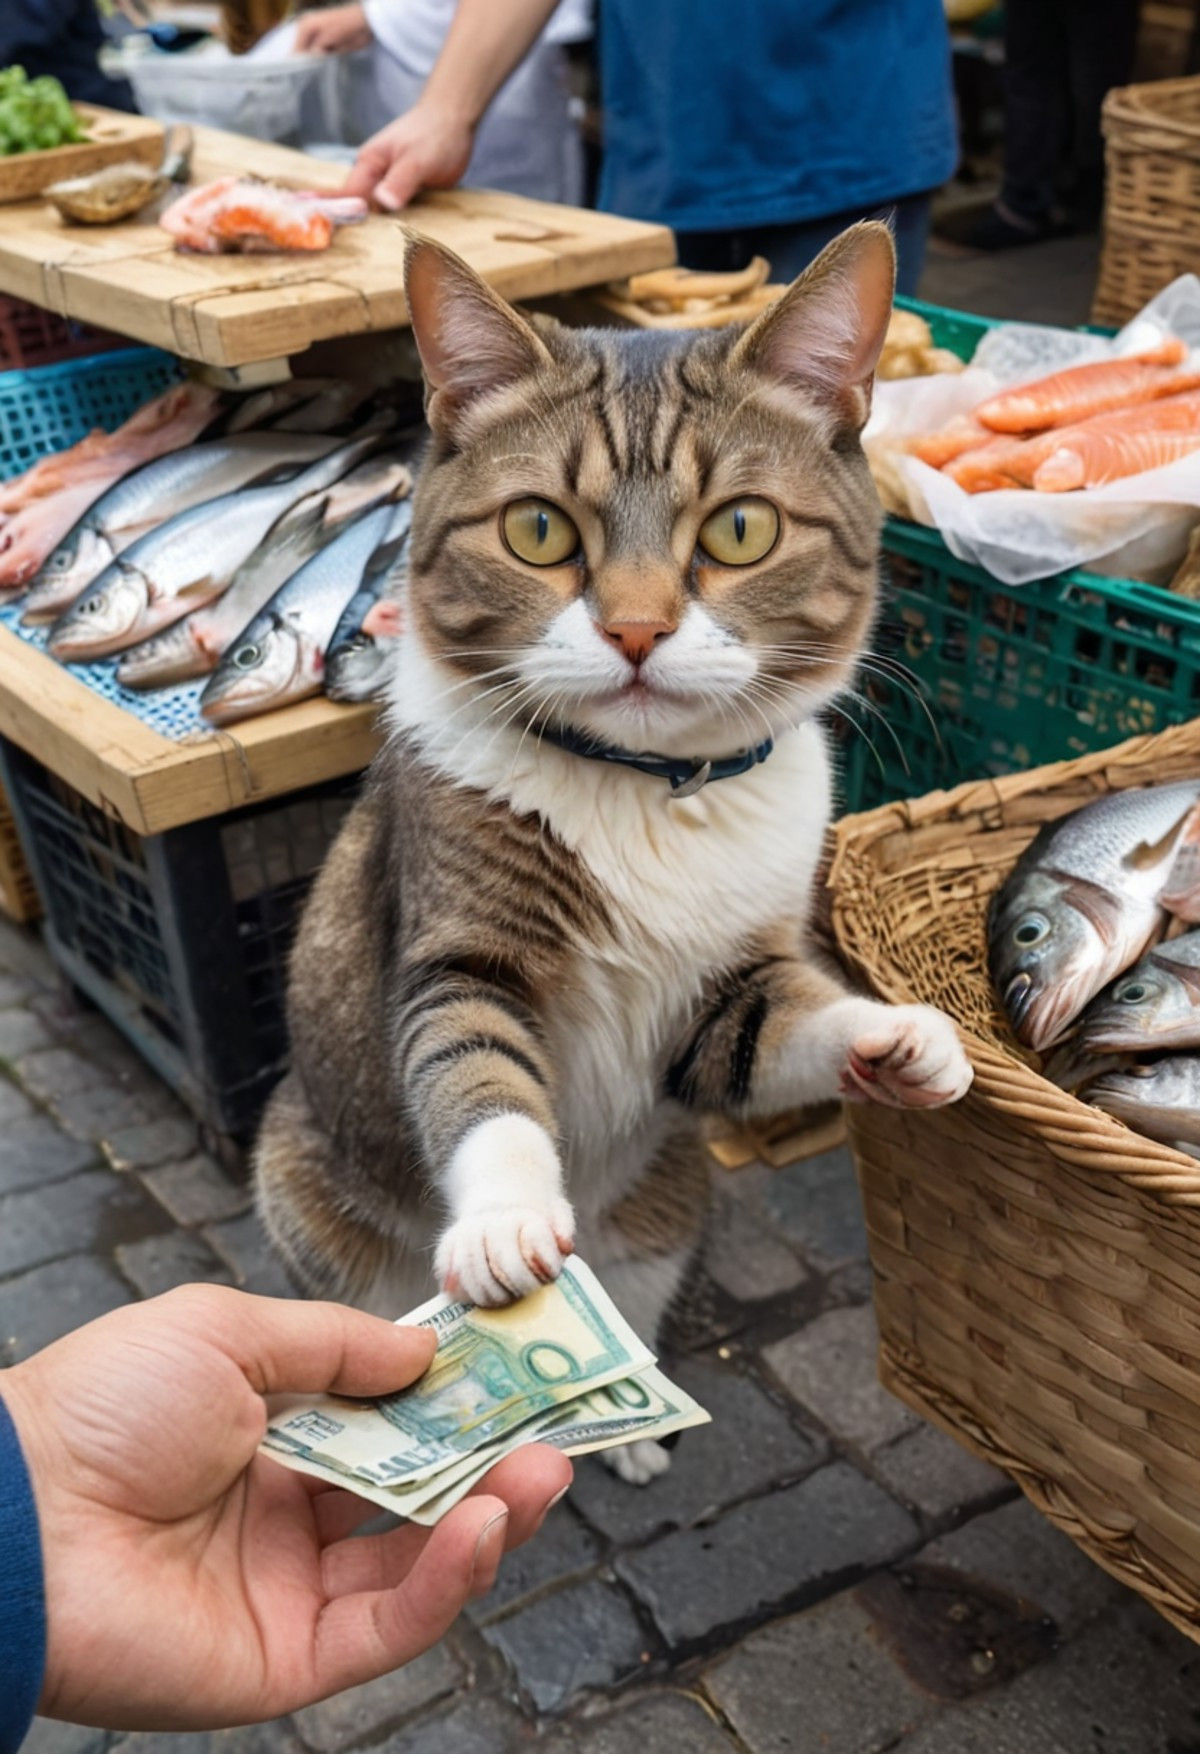
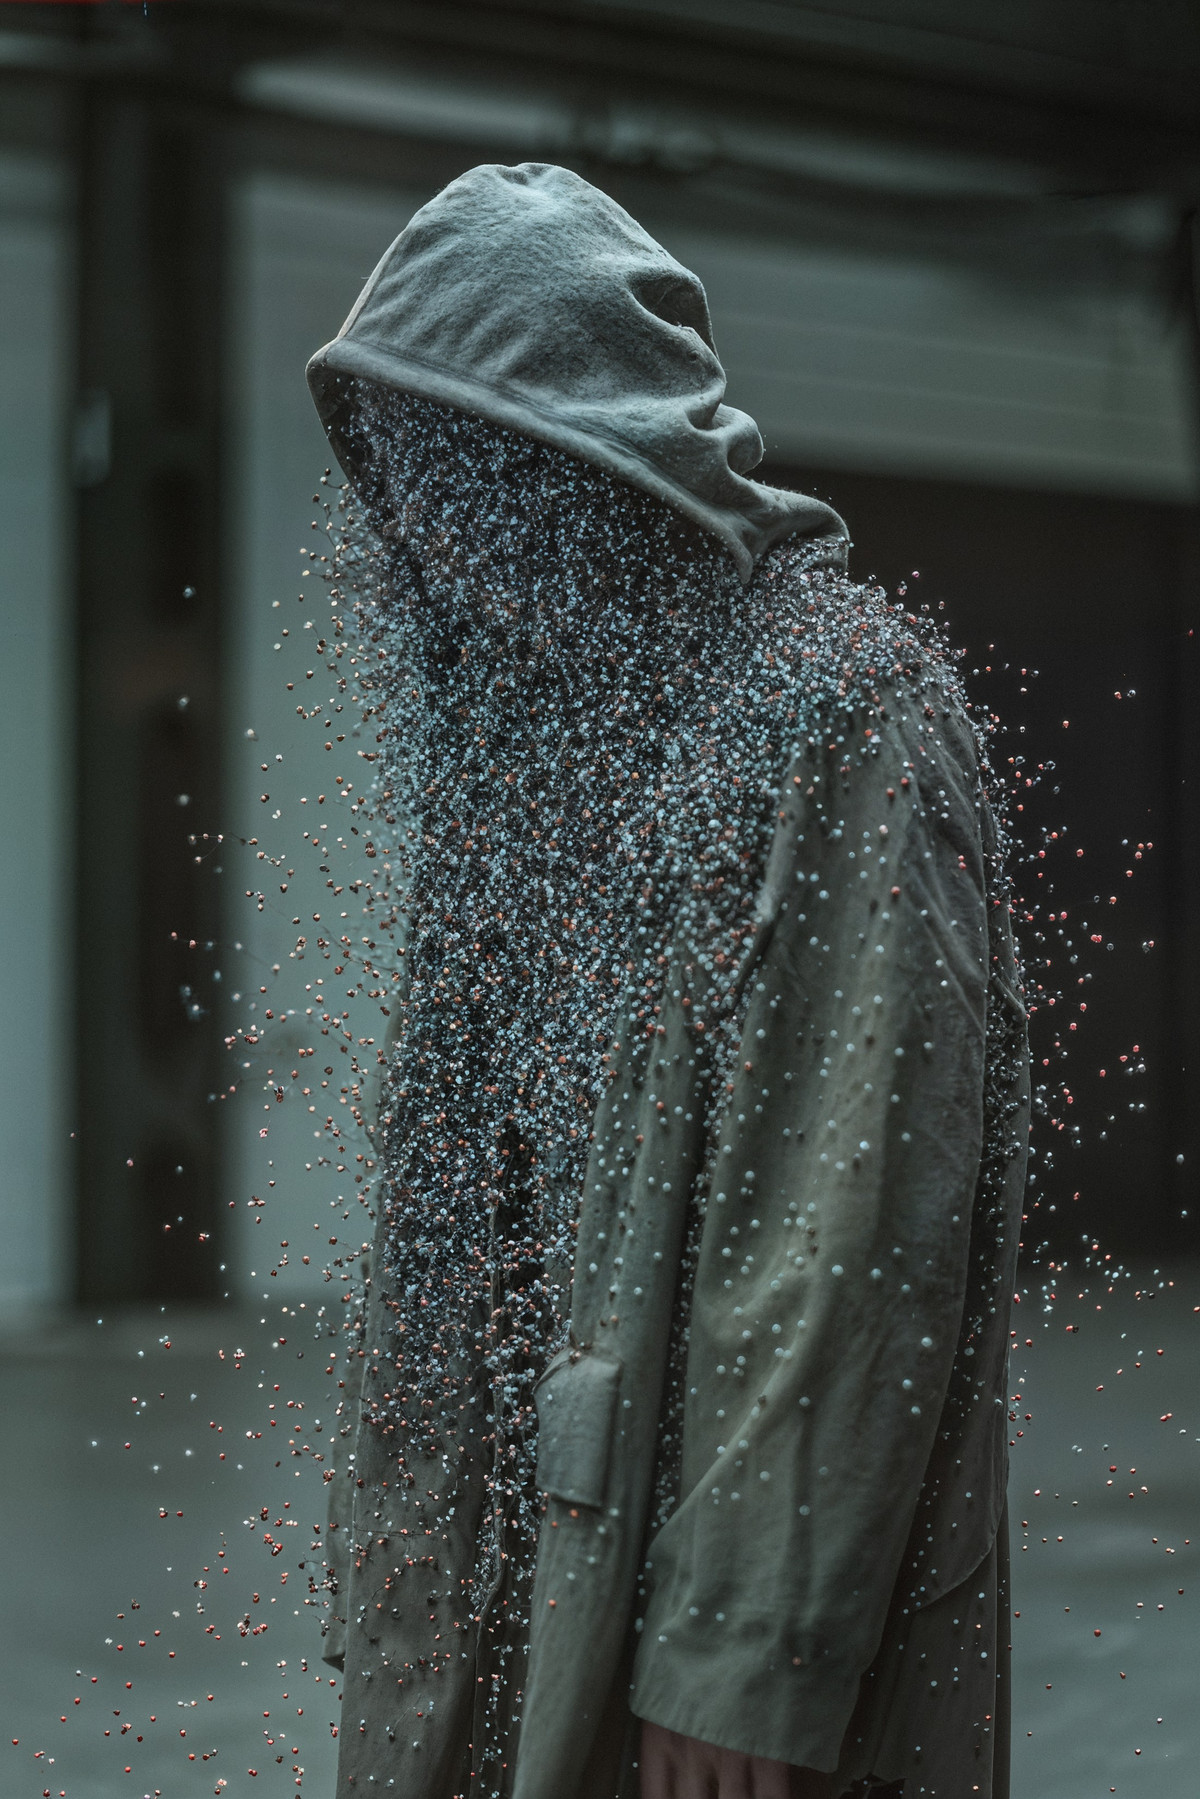
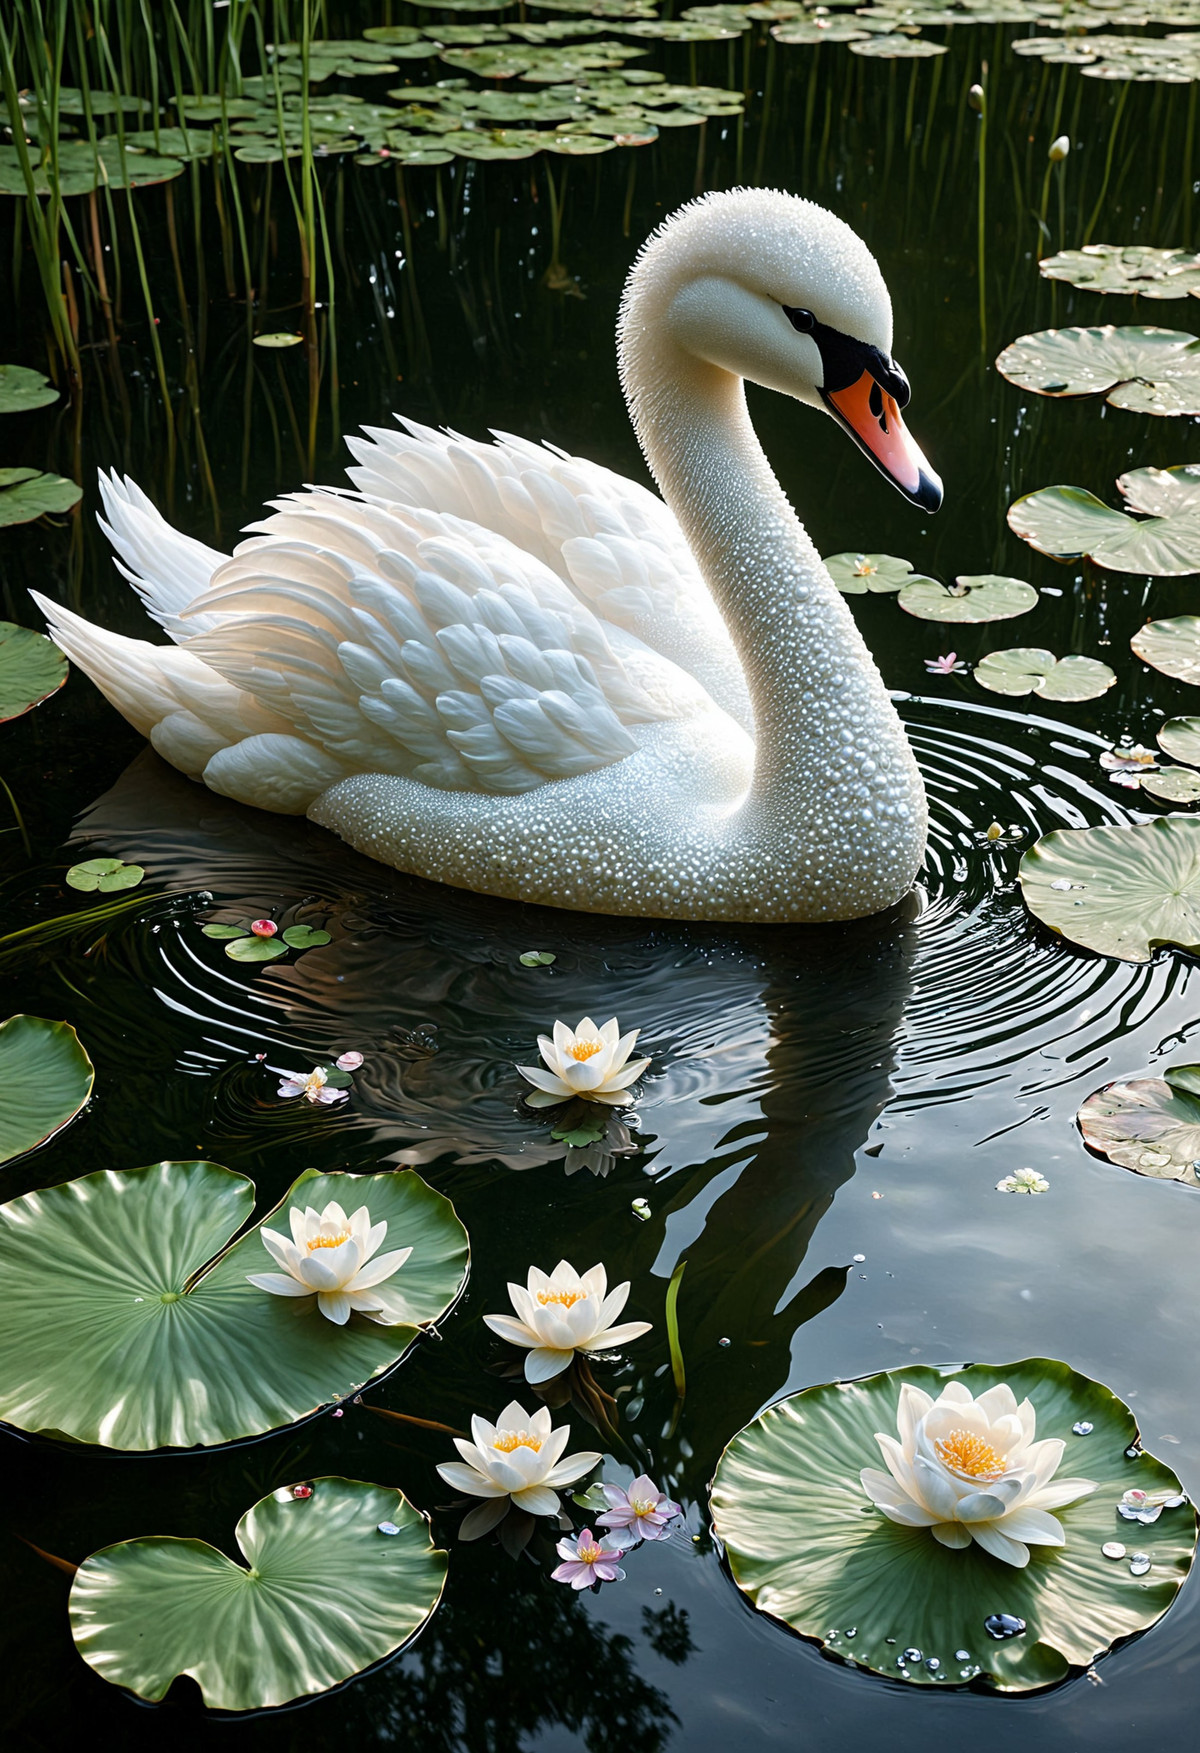
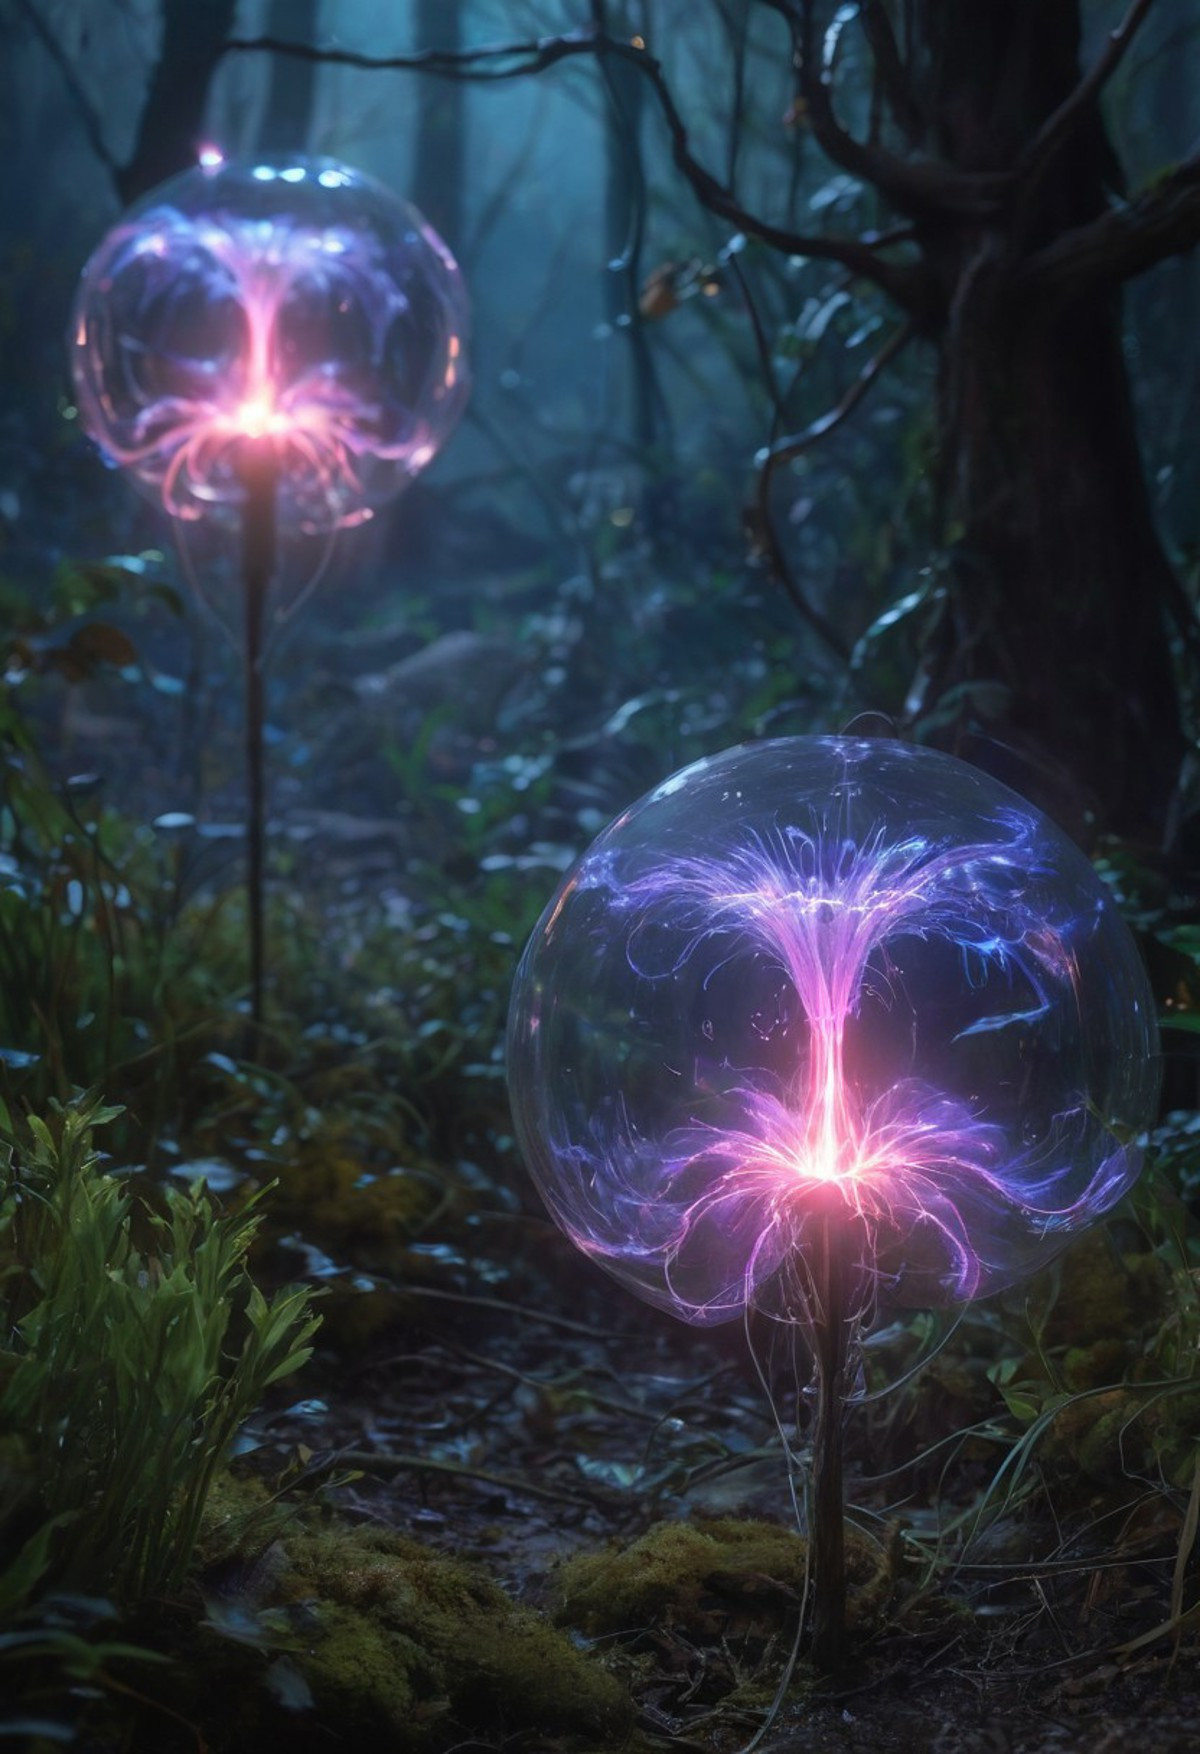
Examples of images made with specific checkpoints:
How to download and use checkpoints for Stable Diffusion
Downloading and using checkpoints is easy:
- Visit the Civitai website: Go to Civitai and log in to your account.
- Search for checkpoints: Use the search bar to find the checkpoints you want.
- Download the checkpoint file: Click on the checkpoint you want and download the file in the Stable Diffusion folder \Models\StableDiffusion.
For example, if you use Automatic1111 WebUI the checkpoints are saved in this folder:
C:\Users\jakob\stable-diffusion-webui\models\Stable-diffusionIf you use Stability Matrix, click on the Model Browser option and choose a model.
It will be saved in the correct folder automatically.
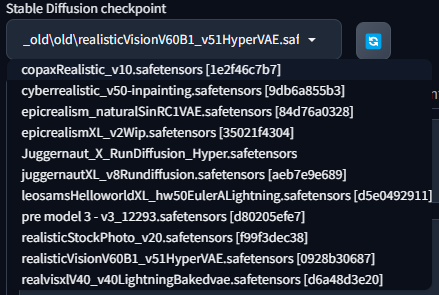
Changing The Checkpoint on Stable Diffusion
After saving the checkpoint in the correct folder, open your stable diffusion interface and click on the checkpoint selector.
For example in automatic1111 WebUI:
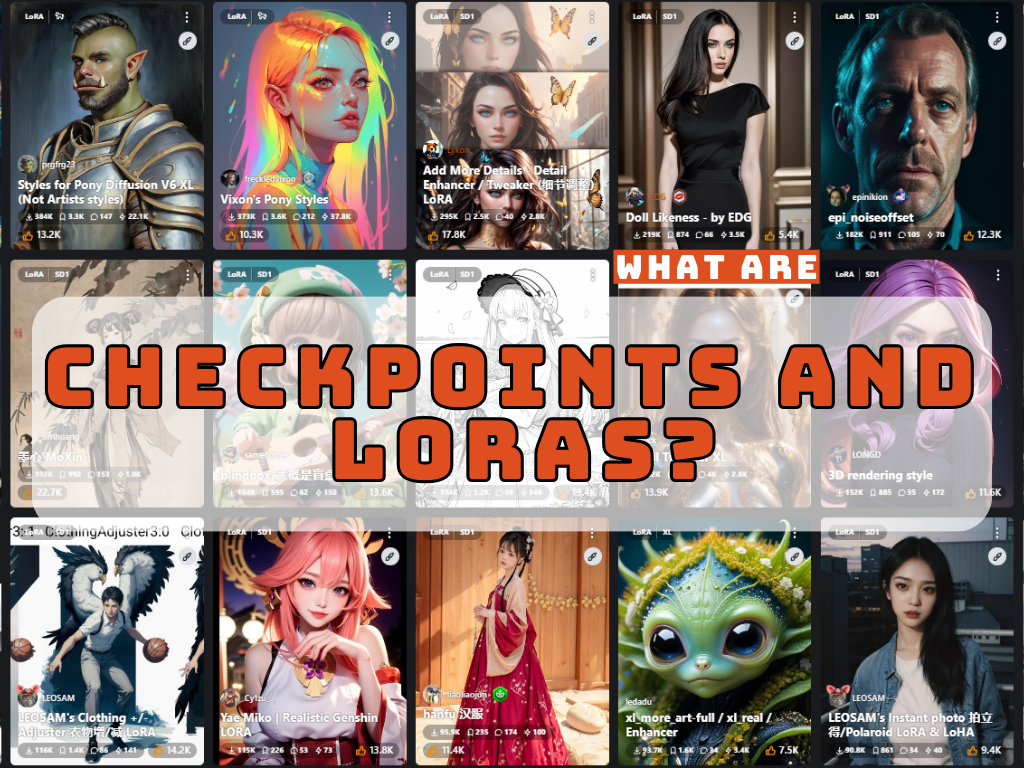
What Are LoRAs in Stable Diffusion?
LoRA stands for (Low-Rank Adaptation) which works by adding small, simple changes to a pre-trained model/checkpoint.
It uses a few extra steps for adjustments giving you more control over the image.
CivitAI provides many LoRAs, and you can create your own LoRAs:
How to Use a LoRA on Stable Diffusion
- Download the LoRA from CivitAI in the LoRA’s folder:
C:\Users\jakob\stable-diffusion-webui\models\Stable-diffusionExample of Using a LoRA
In this example, I’m using a checkpoint that I will soon make available on Civitai, with the Lora of the character 2B from Nier Automata.
If you are using Automatic1111, click on the Lora tab and select it.
It will add something like lora:name_of_the_lora:1 to your prompt field.
In this example, the Nier Automata Lora automatically added:
You can adjust the number from 0.01 to 2, in other to decrease or increase the strength of the Lora.
Then, you write other things that you want in your prompt, for example, the landscape.
If you are using Fooocus, to use the LoRA you have to click on Advanced, then go to the Models tab and select the LoRA.
Additional Resources
- How to Install Stable Diffusion in 3 Steps
- Run Stable Diffusion Online: No Download Tutorial
- My Review on NectarAI: NSFW AI Girlfriend and Image Generator
- Comparison: Best Upscalers for Stable Diffusion
- How to Create Your AI Influencer With Stable Diffusion
Want to be updated on tools and tutorials? 👉 Subscribe 👈

Reference images